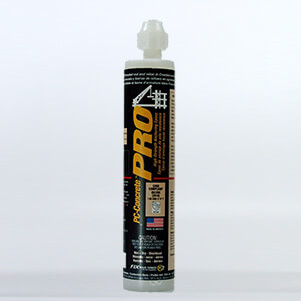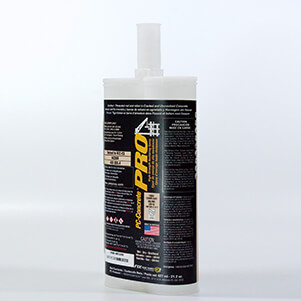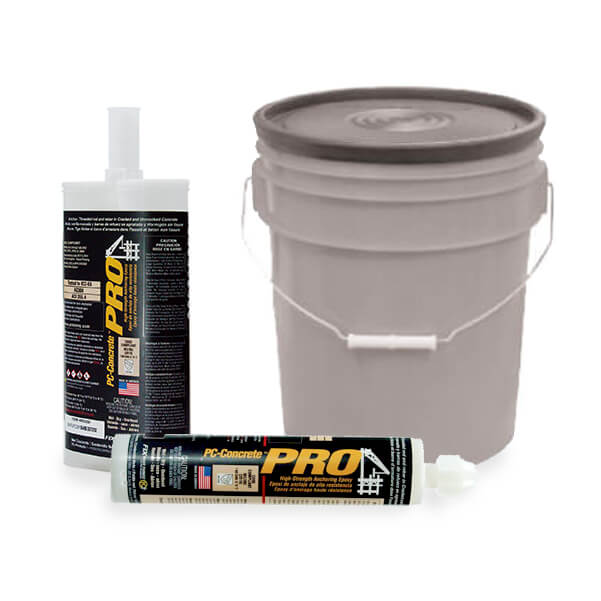
Professional grade, building code compliant, high-strength anchoring epoxy for cracked and uncracked concrete.
- About
- Sizes
- Video
- Coverage
- Prep & Cleanup
- Tech. Reports
- Competitive Comparison
- Accessories
- Reviews
- Purchase
- FAQ
- Troubleshooting
PC-Concrete PRO is Code Compliant!
- IAPMO UES ER-632
- IBC/IRC 2018, 2015, 2012 & 2009
- Florida Building Code 2017 & 2014.
- City of Los Angeles Code (LABC/LARC) Compliant: 2017
- ASTM C881-15 & AASHTO M235 Type I, II, IV & V Grade 3 Class A, B & C
PC-Concrete PRO General Uses & Applications
- Anchor in dry, water saturated, water-filled hammer drilled holes.
- Suitable for core drilled installations in dry or water saturated concrete.
- Multiple anchor types: threaded rod, rebar, and internally threaded inserts.
- OSHA compliant drilling/cleaning method using Milwaukee® Tool hollow vacuum bit system.
Advantages & Features
- IAPMO ER-632 evaluation report for use in cracked and un-cracked normal weight and lightweight concrete
- Code Compliant in cartridge and bulk dispensing systems, IBC/IRC: 2018, 2015, 2012 & 2009
- Highest elevated temperature resistance of any ICC-ES AC308 and ACI 355.4 assessed anchoring epoxy on the market, up to 205 °F (96 °C) under short term loading conditions.
- Made in the USA 🇺🇸
PC-Concrete PRO | 10 gallon
Content coming soon
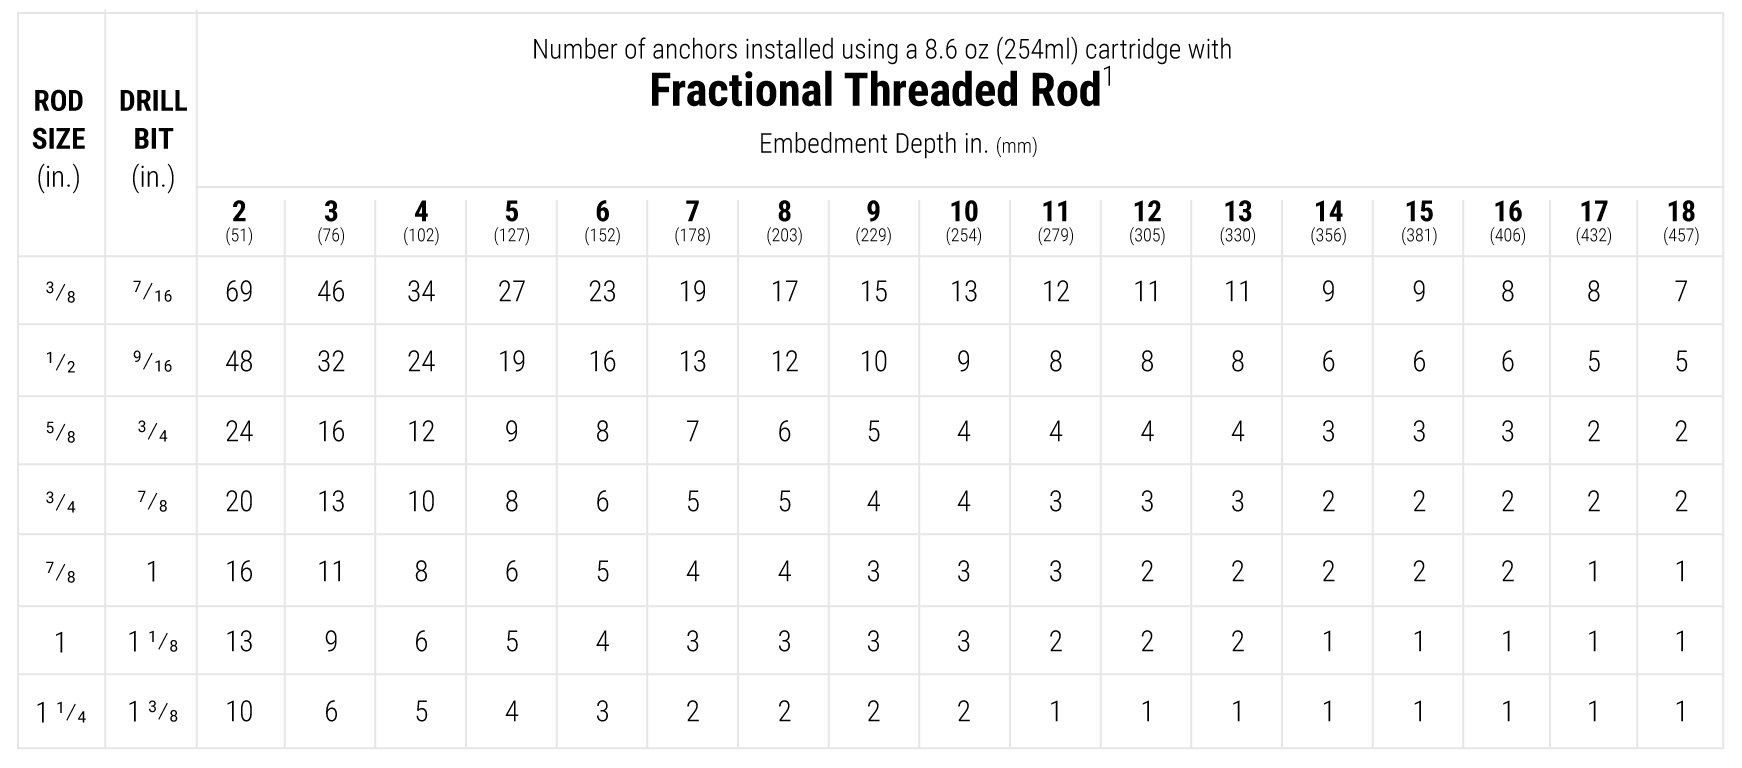
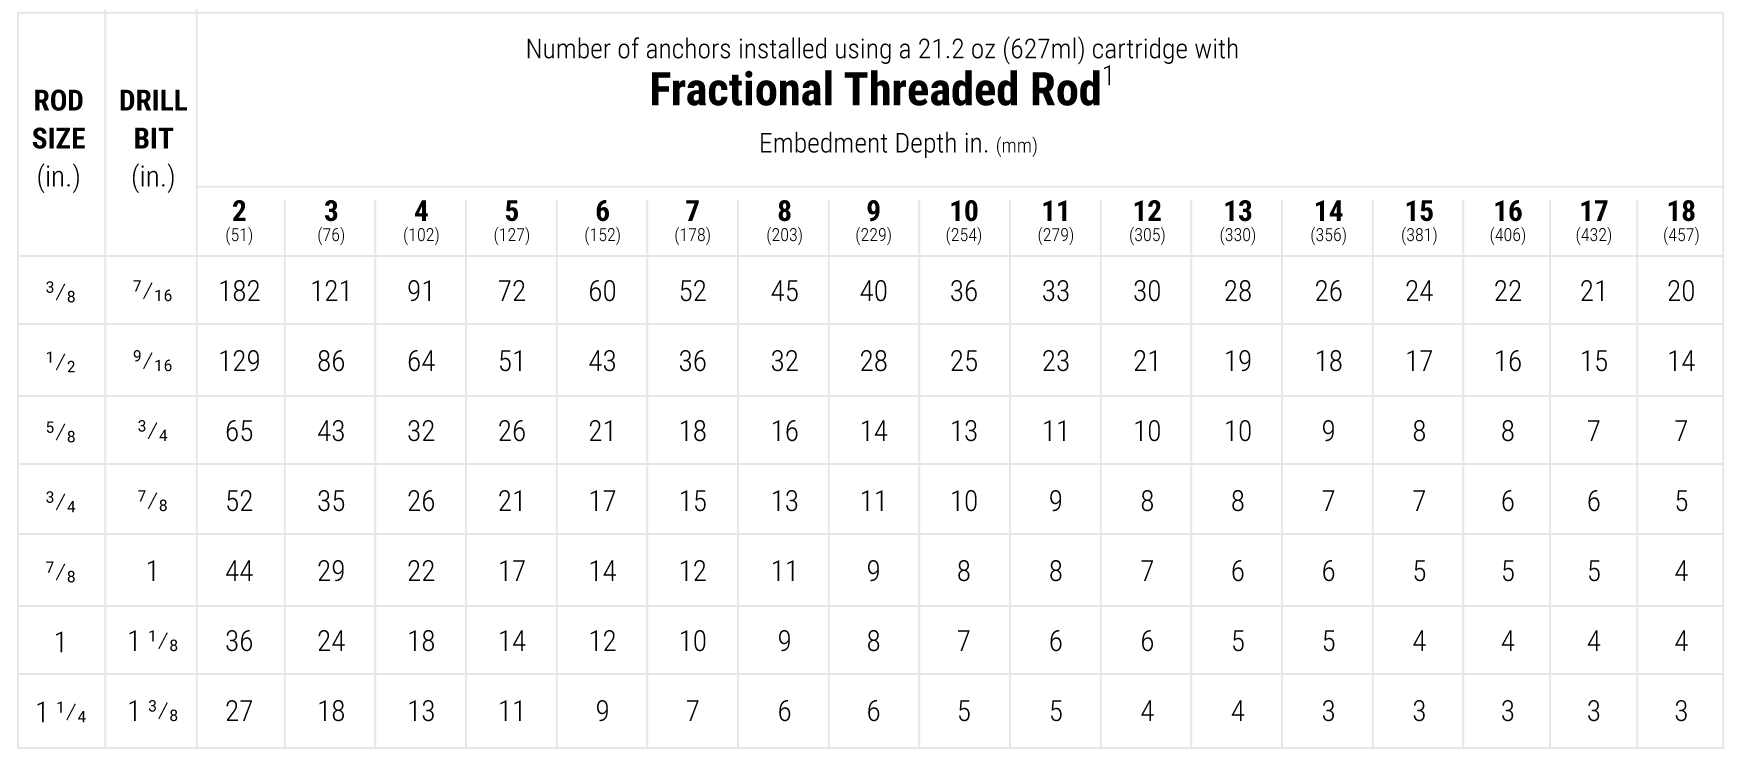
1Estimates based on theoretical calculations using hammer drilled holes, including waste factor for nozzle and cartridge balancing. To add a typical usage Waste Factor (WF), multiply the number of anchors reported in chart by 1-WF (Example: Waste Factor of 15% = Number of anchors x (1-0.15)). Actual results may vary and should be sued for estimating purposes only.
Drilling and Cleaning
Hammer Drilled Holes – Dry, Water Saturated (Damp), Water-Filled (Wet) Cracked and Uncracked Concrete
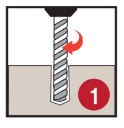
Recommended Dust Extractor System for drilling into dry and damp, cracked and uncracked concrete – Attach appropriate size drill bit to the Dust Extractor Vacuum System. The drill bit should conform to ANSI B212.15 and be the appropriate size for the anchor diameter to be installed. Drill the hole to the specified embedment depth.
GO TO STEP 8 FOR EITHER CARTRIDGE OR BULK SYSTEM
Traditional Drilling Method for dry, damp and wet cracked and uncracked concrete – Using a rotary hammer drill, and while following the manufacturer’s operations manual, select appropriate size drill bit in compliance with ANSI B212.15, drill hole into the base material to the specified embedment depth. CAUTION: Always wear appropriate personal protection equipment (PPE) for eyes, ears & skin and avoid inhalation of dust during the drilling and cleaning process. Refer to the Safety Data Sheet (SDS) for details prior to proceeding.
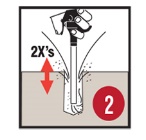
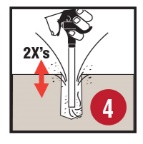
BLOW (2X) – BRUSH (2X) – BLOW (2X) BLOW – NOTE: Remove any standing water from hole prior to beginning the cleaning process. Using oil free compressed air with a minimum pressure of 87 psi (6 bar), insert the air wand to the bottom of the drilled hole and blow out the debris with an up/down motion for a minimum of 2 seconds/cycles (2X).
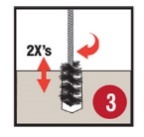
BRUSH – Select the correct wire brush size for the drilled hole diameter, making sure that the brush is long enough to reach the bottom of the drilled hole. Reaching the bottom of the hole (use brush extension if required, brush in an up/down and twisting motion for 2 cycles (2X). CAUTION: The brush should be clean and contact the walls of the hole. If it does not, the brush is either too worn or small and should be replaced with a new brush of the correct diameter
BLOW – Blow the hole out once more to remove brush debris using oil free compressed air with a minimum pressure of 87 psi (6 bar). Insert the air wand to the bottom of the drilled hole and blow out the debris with an up/down motion for a minimum of 2 seconds/cycles (2X). Visually inspect the hole to confirm it is clean. NOTE: If installation will be delayed for any reason, cover cleaned holes to prevent contamination
Core Drilled Holes – Dry, Water Saturated (Damp) Uncracked Concrete
Using a core drill, and while following the manufacturer’s operations manual, select appropriate size drill bit. Drill hole into the base material to the specified embedment depth. Remove center core and ensure that the specified embedment depth can be achieved. CAUTION: Always wear appropriate personal protection equipment (PPE) for eyes, ears & skin and avoid inhalation of dust during the drilling and cleaning process. Refer to the Safety Data Sheet (SDS) for details prior to proceeding.
FLUSH – Using pressurized water, place the tip of the water nozzle at the bottom or back of the drilled hole. Rinse the drilled hole with pressurized water until the water flows clean and free of debris
BLOW (2X) – BRUSH (2X) – BLOW (2X) BLOW – NOTE: Remove any standing water from hole prior to beginning the cleaning process. Using oil free compressed air with a minimum pressure of 87 psi (6 bar), insert the air wand to the bottom of the drilled hole and blow out the debris with an up/down motion for a minimum of 2 seconds/cycles (2X).
BRUSH – Select the correct wire brush size for the drilled hole diameter, making sure that the brush is long enough to reach the bottom of the drilled hole. Reaching the bottom of the hole (use brush extension if required, brush in an up/down and twisting motion for 2 cycles (2X). CAUTION: The brush should be clean and contact the walls of the hole. If it does not, the brush is either too worn or small and should be replaced with a new brush of the correct diameter
BLOW – Blow the hole out once more to remove brush debris using oil free compressed air with a minimum pressure of 87 psi (6 bar). Insert the air wand to the bottom of the drilled hole and blow out the debris with an up/down motion for a minimum of 2 seconds/cycles (2X). Visually inspect the hole to confirm it is clean. NOTE: If installation will be delayed for any reason, cover cleaned holes to prevent contamination
Dispensing Preparation
Bulk Systems – The bulk pump uses a two component delivery system whereby metering individual components and mixing of the two components are automatically controlled during dispensing through a metering manifold and disposable mixing nozzle. The bulk pump has a minimum input air pressure requirement of 80-90 psi @ 15 CFM, supplied through a regulator which reduces the pressure in order to control the rate of dispensing. The two individual adhesive components stay separate throughout the system, until they reach the specified disposable mixing nozzle via a manifold at the end of the bulk pump wand. Under normal operation, the bulk pump must be capable of dispensing the individual components at a 1:1 mix ratio by volume with a tolerance of ± 2%.
CAUTION: Check the expiration date on each product container to ensure it is not expired. Do not use expired product! Epoxy materials may separate. This is normal and can be expected when stored over a period of time. Part A Resin should not be remixed. Part B Hardener should be remixed with a clean 5 gallon paint stick in a “butter churning” motion to homogenize the product prior to pouring the hardener into the appropriate side of the bulk dispensing pump. CAUTION: Stir carefully to avoid whipping air into product
NOTE: Review Bulk Pump Operations Manual thoroughly before proceeding and follow all steps necessary for set-up and operation of the pump. Pour Resin into Side A pump reservoir after mixing per Step 8 above. Close lid on Side A. Pour Hardener into Side B pump reservoir. Close lid on Side B. NOTE: Fill hoppers at least one-half full. Incoming air supply pressure should be maintained at approximately 100 psi (6.9 bar). Follow bulk pump instructions for filling the metering pump and outlet assembly, then bleed the air from the system and fill the hose and applicator.
Balance the bulk pump machine following instructions in the Bulk Pump Operations Manual. NOTE: Be sure to establish proper flow of both materials at the applicator tip prior to attaching mixing nozzle. A ratio check should always be performed before installation begins to ensure that equal volumes of Part A and Part B are being dispensed
After the proper pump dispensing ratio has been verified, place the appropriate mixing nozzle onto the bulk pump wand. Do not modify mixing nozzle. Confirm that the internal mixing element is in place prior to dispensing adhesive. Never use without the mixing nozzle.
Dispense the initial amount of material from the mixing nozzle onto a disposable surface until the product is a uniform gray color with no streaks, as adhesive must be properly mixed in order to perform as published. Dispose of the initial amount of adhesive according to federal, state and local regulations prior to injection into the drill hole. Take note of the air and base material temperatures and review the working/full cure time chart prior to starting the injection process
Cartridge Systems
CAUTION: Check the expiration date on the cartridge to ensure it is not expired. Do not use expired product! Remove the protective cap from the cartridge and insert the cartridge into the recommended dispensing tool. Before attaching mixing nozzle, balance the cartridge by dispensing a small amount of material until both components are flowing evenly. For a cleaner environment, hand mix the two components and let cure prior to disposal in accordance with local regulations.
Only after the cartridge has been balanced, screw on the proper PC Products mixing nozzle to the cartridge. Do not modify mixing nozzle and confirm that internal mixing element is in place prior to dispensing adhesive. Take note of the air and base material temperatures and review the working/full cure time chart prior to starting the injection process.
Dispense an initial amount of material from the mixing nozzle onto a disposable surface until the product is a uniform gray color with no streaks, as adhesive must be properly mixed in order to perform as published. Dispose of the initial amount of adhesive according to federal, state and local regulations prior to injection into the drill hole. CAUTION: When changing cartridges, never re-use nozzles. For a new cartridge (or if working time has been exceeded), ensure that cartridge opening is clean, install a new nozzle and repeat Steps 8 & 9 above accordingly. Leave the mixing nozzle attached to the cartridge upon completion of work.
Installation and Curing (Vertical Down, Horizontal & Overhead)
NOTE: The engineering drawings must be followed. For any applications not covered by this document, or for any installation questions, please contact Protective Coating Co. Insert the mixing nozzle, using an extension tube if necessary, to the bottom of the hole and fill from the bottom to the top approximately 2/3 full, being careful not to withdraw the nozzle too quickly as this may trap air in the adhesive. For internally threaded inserts only fill the hole to approximately half. NOTE: Building Code Requirements for Structural Concrete (ACI 318-11 / ACI 318-14) requires the Installer to be certified where adhesive anchors are to be installed in horizontal or overhead installations. If extension tubing is needed, it can be connected onto the outside of the tip of both the small mixing nozzle (T12) and the large mixing nozzle (T34HF). NOTE: When using a pneumatic dispensing tool, ensure that pressure is set at 90 psi (6.2 bar) maximum.
Piston plugs must be used for overhead installations and those between horizontal and overhead. Select the proper piston plug for the drill hole diameter. The piston plug fits directly onto the tip of both the small and large mixing nozzle. Extension tubing may also be used if needed in order to reach the bottom of the drill hole.
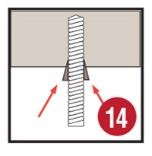
Prior to inserting the threaded rod or rebar into the hole, make sure it is straight, clean and free of oil and dirt and that the necessary embedment depth is marked on the anchor element. Insert the anchor element into the hole while turning 1-2 rotations prior to the anchor reaching the bottom of the hole. Excess adhesive should be visible on all sides of the fully installed anchor. For installing the internally threaded inserts, thread a bolt into the insert and press it into the hole with a slight twisting motion. To finish, drive the insert down with sharp blows to the head of the bolt with a hammer until it is flush with the surface of the concrete. CAUTION: Use extra care with deep embedment or high temperature installations to ensure that the working time has not elapsed prior to the anchor being fully installed
For overhead installations, horizontal and inclined (between horizontal and overhead), wedges should be used to support the anchor while the adhesive is curing. Take appropriate steps to protect the exposed threads of the anchor element from uncured adhesive until after the full cure time has elapsed.
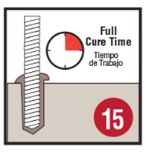
Do not disturb, torque or apply any load to the installed anchor until the specified full cure time has passed. The amount of time needed to reach full cure is base material temperature dependent – refer to Table 6 for appropriate full cure time.
How to clean-up after PC-Concrete PRO application
Clean up mixed epoxy before it cures with paper towels and solvent. Denatured alcohol (ethanol), acetone, rubbing alcohol (isopropyl alcohol) or lacquer thinner are suitable solvents for removing uncured epoxy. Cured PC-Concrete PRO can be removed with paint stripper or remover.
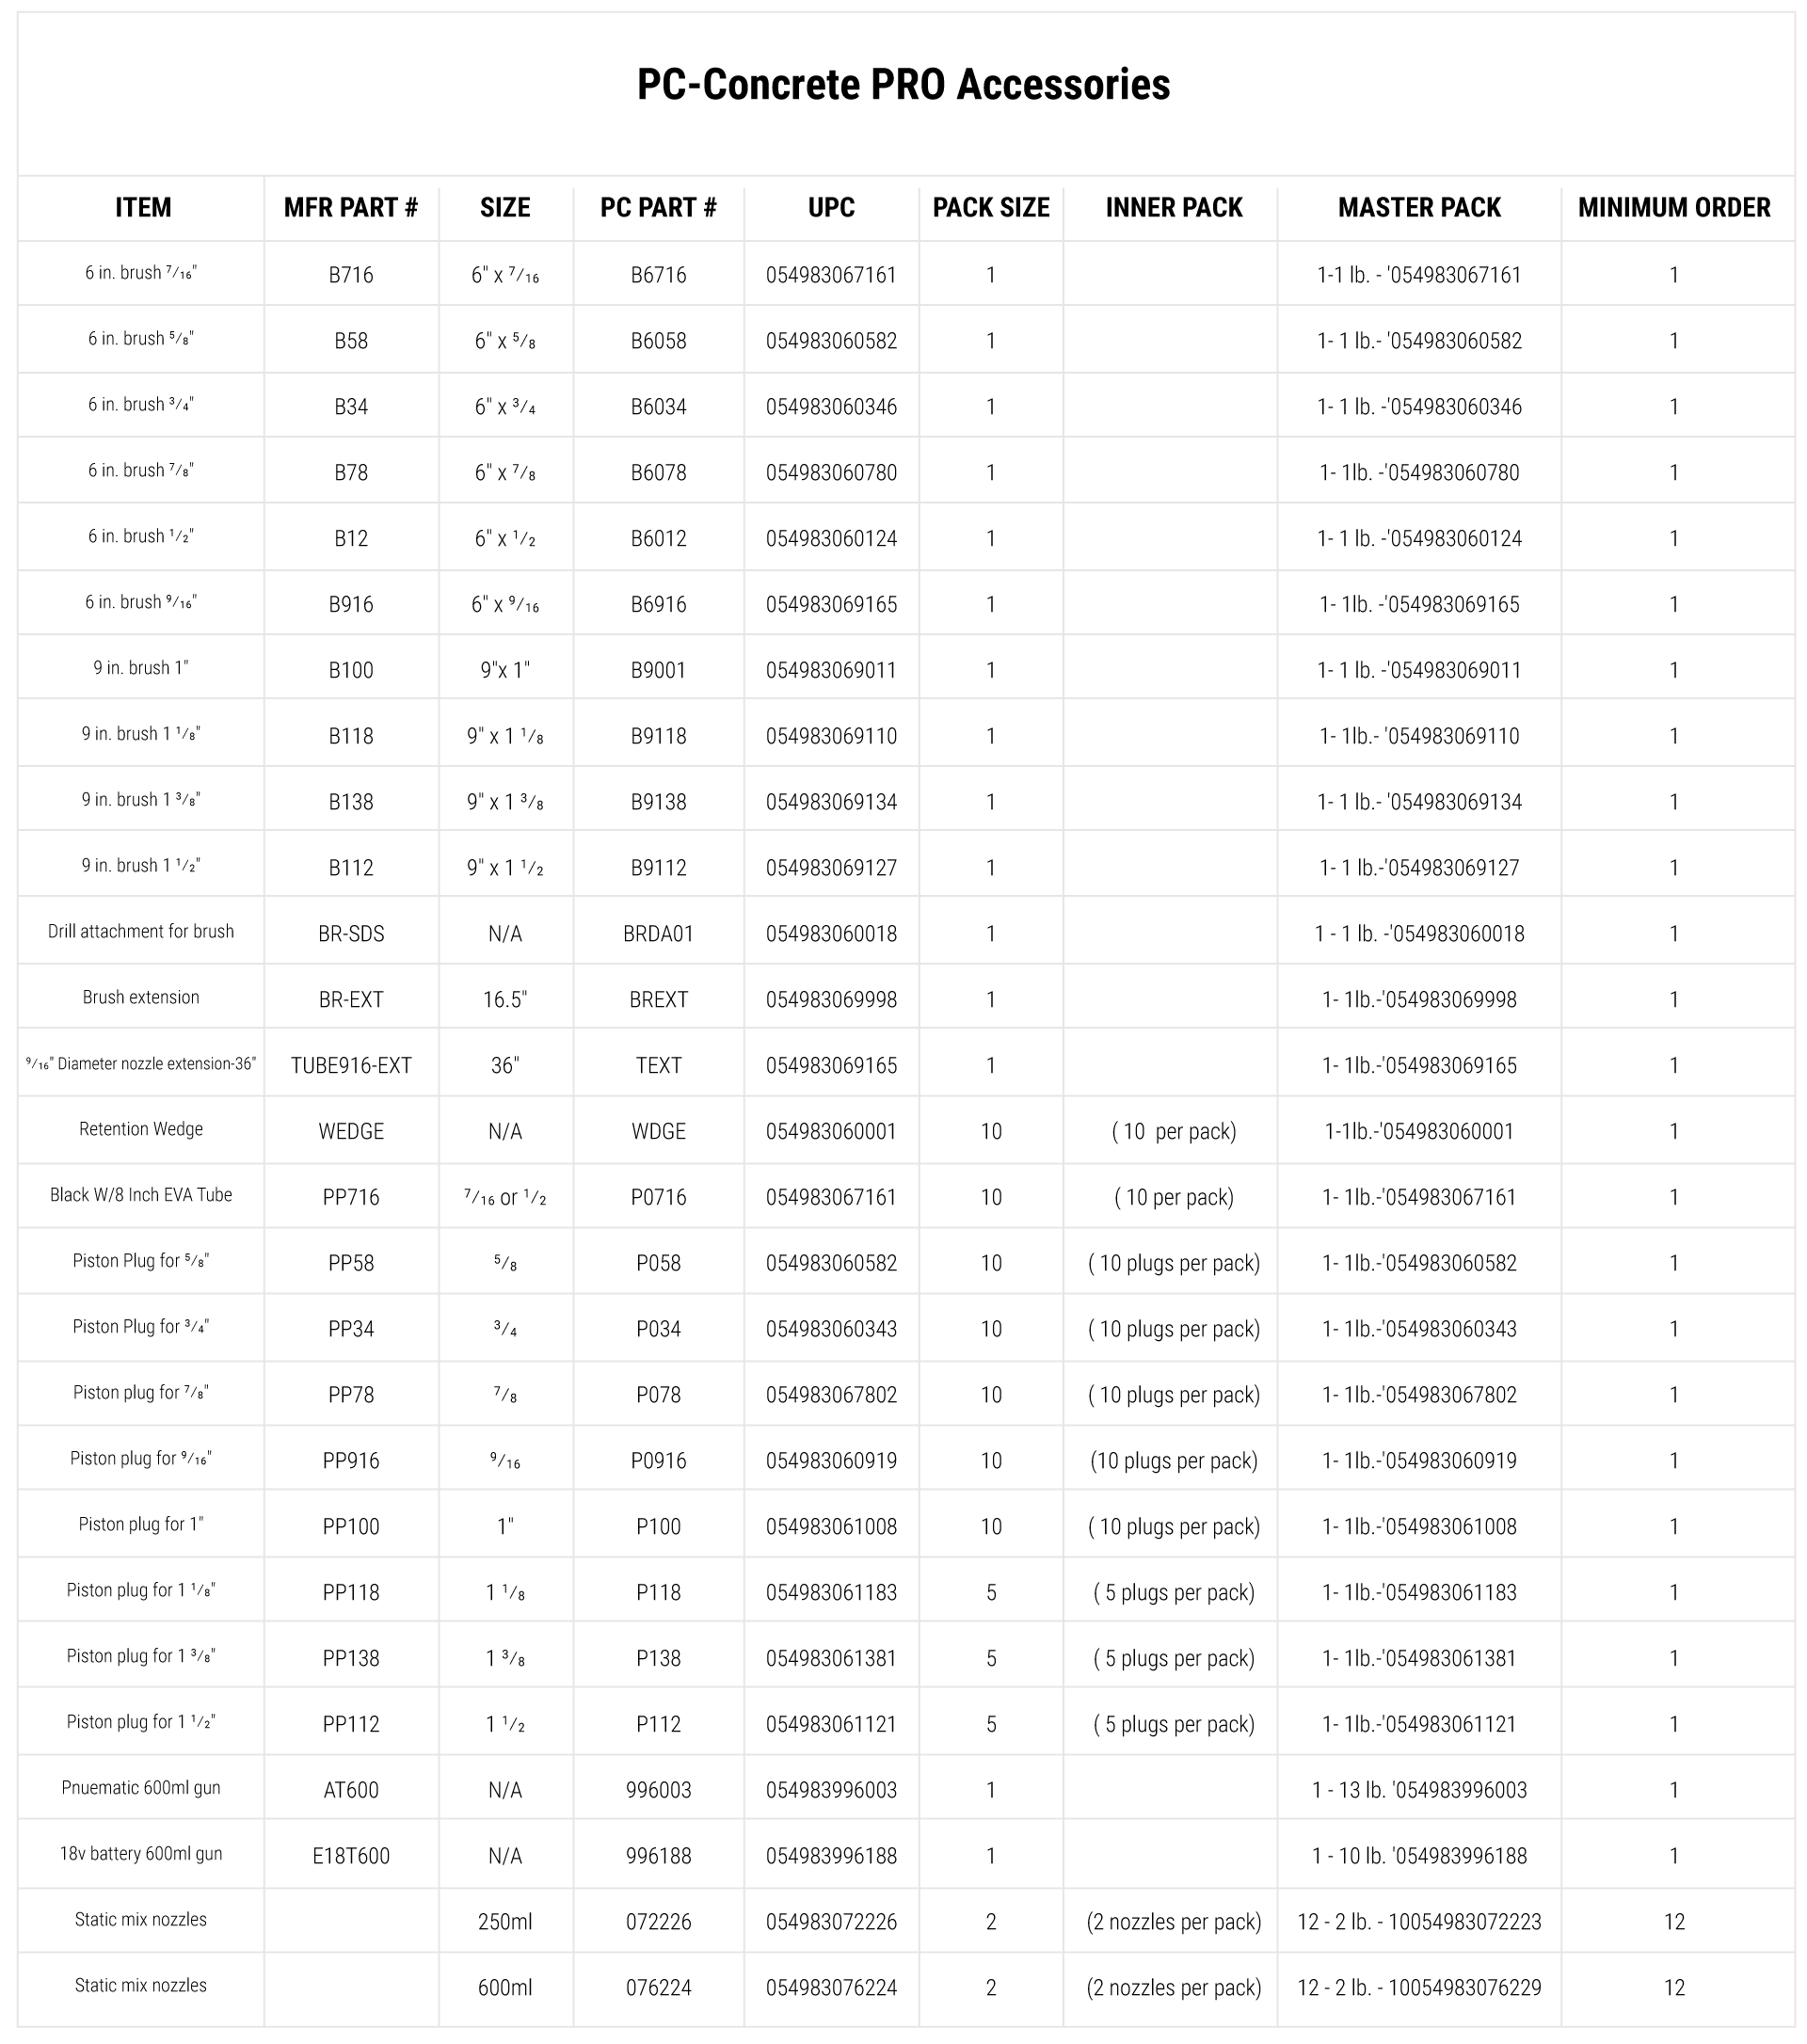
Content coming soon
Contact:
Protective Coating Co.
221 S. Third Street
Allentown, PA 18102
800.220.2103
How does PC-Concrete PRO differ from PC-Concrete™?
PC-Concrete PRO satisfies building codes for anchoring in cracked concrete, PC-Concrete does not.
PC-Concrete PRO meets the following building and engineering codes (PC-Concrete does not):
- IAPMO UES ER-632
- IBC/IRC 2018, 2015, 2012 & 2009
- Florida Building Code 2017 & 2014.
- AASHTO M235
- City of Los Angeles Code (LABC’LARC) Compliant: 2017
Do I need special equipment for dispensing PC-Concrete PRO?
No, PC-Concrete PRO works with any high thrust standard size caulk gun and 600ml dual cartridge caulk gun.
Can PC-Concrete PRO be used in smooth bore holes?
Yes, unlike other anchoring epoxies, it is not necessary to rough the interior of walls of the hole when using PC-Concrete PRO.
Can PC-Concrete PRO be used in wet conditions?
PC-Concrete PRO can be used in saturated concrete and even in water filled holes. See the TDS (Technical Data Sheet) and application instructions for details.
The cartridge is stuck halfway. Why won’t it go further?
The 9 ounce cartridge has two separate chambers – one for the epoxy resin and the other for the epoxy hardener. At the midpoint both chambers have been exhausted and the cartridge is fully emptied.
The cartridge does not extrude. Is there something wrong with the cartridge?
Not all caulking guns are the same. PC-Concrete™ should be applied using a high thrust caulking gun. Guns with less thrust require greater exertion. Count how many strokes the caulking gun trigger must be squeezed in order for the rod to travel the entire length. High thrust guns have greater than 50 strokes, weak guns are half that. Note: Cool temperatures increase the viscosity of the epoxy and make it more difficult to extrude. Warm the cartridge prior to using in cold environment.

